 Looking to upgrade your laptop, or fancy a new hard drive to boost your storage but don’t know how to remove your internal hard drive?
Well, swapping our your old HDD can be as simple as a few steps, giving your old laptop room for an upgrade or a quick fix.
In the video below we show you how to remove an internal hard drive from a laptop in a few easy steps, paving the way for you to either fix or upgrade you HDD.
Steps to remove a Hard Disk Drive (HDD) from a laptop:
First off a few warnings:
-Each laptop will be laid out a little different so please check the manufacturer guide as to the design.
-Make sure to clear that static before diving in!
-Your warranty may be voided by opening your laptop. Take your laptop to a specialist if you have any concerns.
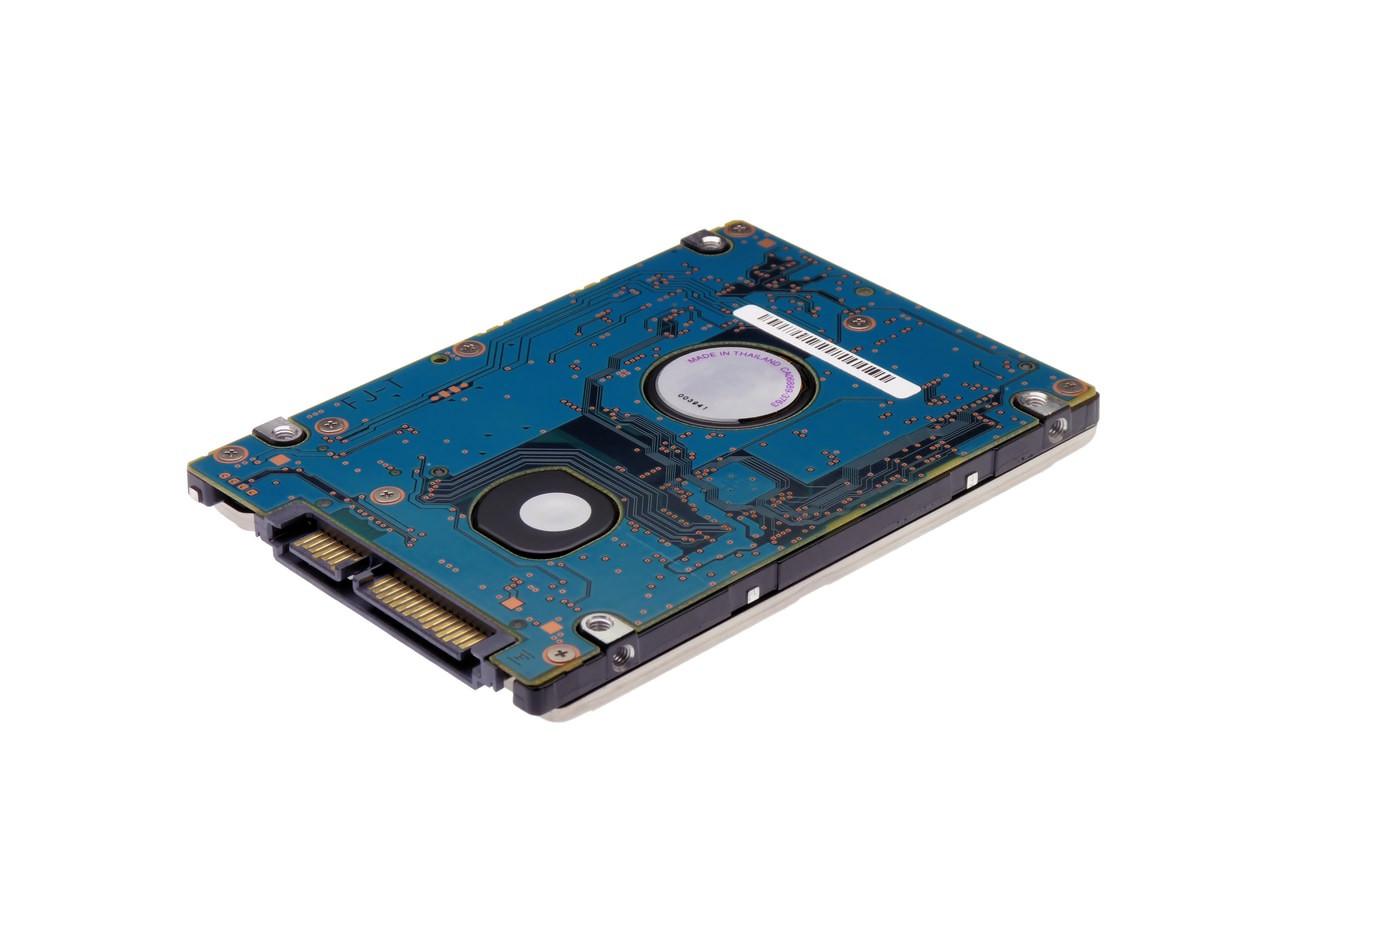
Hard Drive Removal:
1- First off locate the hard drive bay, (usually a smallish rectangle shape on the back of the laptop)
2- Remove any affixing screws around the HDD bay. It’s important you get every screw as to not damage the laptop.
3- If your laptop has a caddy, remove any screws holding the actual HDD in place.
4- Gently pull or release the HDD from the bay. You will usually need to slide the HDD a little away from the connector pins (be careful to not damage the connector but it might need a little jiggle)
5- Take the HDD out of the bay, again watching for any connections. Keep the HDD safe if you’re using it again.
For more info visit Ebuyer’s YouTube channel or check out the range of HDD at Ebuyer