

If you’re new to PC building, where’s the first place to even start? You’ve meticulously researched the components, eagerly awaited delivery and finally in front of you is a delectable spread of gaming goodness: the latest and greatest graphics card, a blazing fast SSD and perhaps an overwhelming abundance of RGB accessories — it’s tempting to get carried away.
However, the fundamental pillars of PC building are the tried-and-true pairing of processor and motherboard. Together, they form the ‘brains and body’ respectively. Today, we’ll walk you through their installation process. Nail these first all-important steps, and you’ll be well on your way to becoming an experienced PC builder.
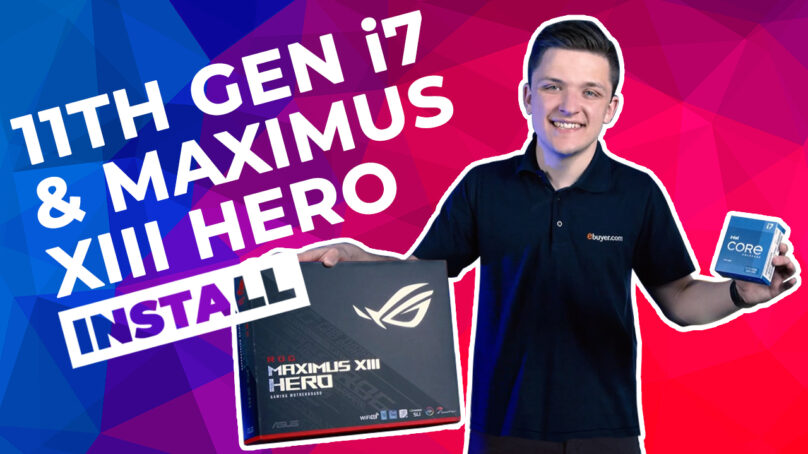
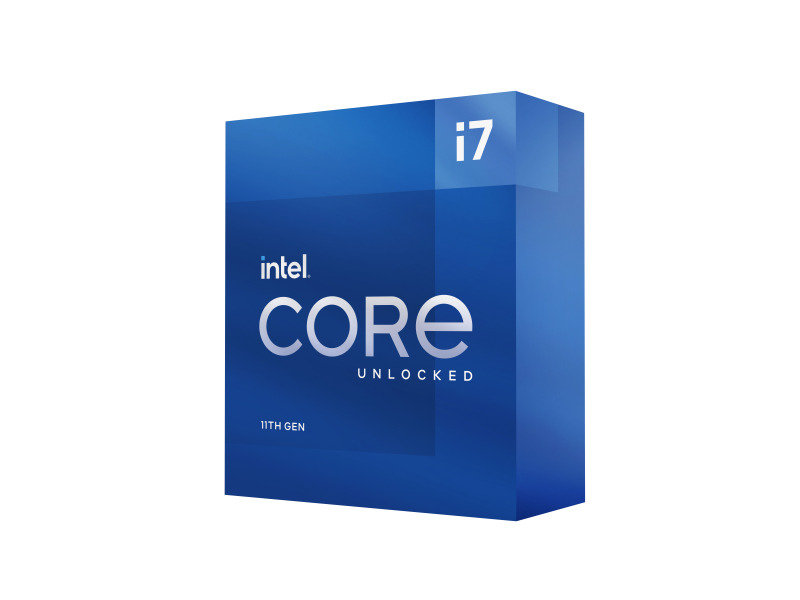
Intel Core i7 11700K
For our processor, we’ve gone for the brand-new Intel Core i7 11700K. Gaming, recording, streaming – thanks to the 8 core and 16 threads, even the heaviest multithreaded workloads will be no match for this processor.
Out of the box, this processor is capable of boosting all the way up to 5.0GHz, though it’s also fully unlocked and overclockable to fine tune your performance.
Asus ROG Maximus XIII Hero
And to fully utilize the raw horsepower of this beefy processor, we’ve grabbed an equally impressive motherboard, the Asus ROG Maximus XIII Hero.
Based on the Z590 chipset, it allows you to overclock both the processor and RAM. With 4 RAM DIMM slots for further future expandability, 3 PCIE slots for graphics and expansion cards and 2 Gen 4 M.2 slots (providing transfer speeds in the region of 7GBps!), it has everything you need for gaming in 2021 and beyond.
Not forgetting to mention the robust, well-rounded selection of rear I/O: 10GB USB Type A ports, dual Thunderbolt ports and Wi-Fi 6E for cutting-edge speeds.

Only touch the sides
Taking the processor out of the box, it’s commonly advised to only hold the processor by its sides. This helps prevent any accidental touches to the gold contact points found all along the bottom of the processor, as these interface with their respective pins found on the motherboard.
We don’t want any potential interference from our finger’s sweat, grease and dirt preventing a secure, stable connection.
The little gold triangle
Also, take notice of the little gold triangle on the bottom-left corner of the processor. This seemingly insignificant marking makes our lives a whole lot easier, as it subtly indicates the orientation to line up the processor with the processor’s socket.
Installing the Intel Core 11700K
Installing the processor itself might seem like a daunting prospect, but it’s actually dead simple, as long as you’re aware of this handy guideline.
Find the little gold triangle as previously mentioned and over on the motherboard, line it up with the corresponding triangle on the plastic processor cover. To reiterate, this should be on the bottom-left, at least on our combination.
To remove the plastic cover, release the lever located next to the socket out and pull upwards. The cover hasn’t come loose yet, but that’s perfectly fine, we’ll deal with it later.
For now, ensuring everything’s still lined up triangle-to-triangle, simply lower in into place. You shouldn’t feel the need to exert any excessive force, a gentle touch works wonders, though feel free to give it a bit of a wiggle to make sure it’s seated correctly.
Don’t toss out the cover
Finally, we want to pop the cover back down by taking the metal cover and sliding it under the screw located at the bottom of the socket. Pushing the arm down back into its original position, our plastic cover should automatically release. No need to remove it yourself – let the motherboard do all the hard work!
Although we don’t need this plastic cover right now, it’s generally a wise move to store it somewhere safe, just in case you ever remove the processor and need something to protect the delicate processor socket pins.
The Intel Core i7 11700K includes a cooler in the box
And just like that, the processor installation’s done. Not too tricky, right? Just to get our PC up and running, we’re going to stick with the default Intel cooler included in the box. Though, given this is a fully unlocked processor, a more substantial cooling solution (maybe even water cooling) would be more suitable.
On this particular cooler the thermal paste already comes pre-applied, so there’s no need to worry about applying your own. Simply rest the cooler over the processor, line up and clip down each of the pegs into the four corners, keeping an ear out for a satisfying click to ensure it’s securely fastened. Feel free to lift up the motherboard and give the processor cooler another little wiggle to double-check it’s not going anywhere.
Making life easier
We’re already reaching the end of the initial process of any PC build. Exciting, right? The processor, motherboard and cooler are all good to go, now it’s just a matter of getting it all installed in a case.
Available exclusively to Ebuyer, we’ve gone ahead and picked up a Neutron Lab case for our installation. Actually, we’ve already covered this case more in-depth, why not check it out here.
As with any case however, it’s recommended to remove the panels, both the tempered glass side panel and the metal one. When screws, cables and zipties are introduced, as much accessible working space as possible quickly becomes a PC building luxury.

The important of standoffs
Looking back at the motherboard, do you notice there’s actually quite a few holes going through it? On our board, there’s 3 along the top, 3 along the middle and 3 along the bottom. These holes correlated with the standoffs in our case.
Standoffs play a hugely important role and aren’t to be skipped over. Not only do they support the weight of your motherboard, especially when chunky coolers are hanging off the side, but they also provide a gap between the motherboard and the conductive nature of metal cases so nothing electrically shorts.
Some cases might not come with all the standoffs pre-installed, so make sure you go ahead and screw in any extras you need.
Don’t forget the I/O shield
Even the most experienced PC builders make this mistake sometimes – don’t forget to insert your motherboard’s I/O shield into the back of the case, before sliding in the motherboard over the standoffs and securing it into place using the included case screws.
On our motherboard, the I/O shield actually comes pre-installed, saving ourselves an extra step!
The perfect pairing
Just like that, the processor and motherboard are installed in the case! The Intel Core i7 11700K and Asus ROG Maximus XIII Hero have served us well today — you might call them the perfect pairing. Check them out, over at Ebuyer:


Poll