- Choose a suitable build area.
- Manage electrostatic discharge.
- Keep a clear build area.
- Hold onto component boxes.
- Follow along with YouTube build guides.
- Don’t worry so much about thermal paste.
- Don’t force anything.
- Don’t forget the I/O shield.
- Do a test boot.
- Manage your cables.
Have all the components for your PC build arrived from Ebuyer? No doubt you’re raring to go, but hold on. From jump-starting a PC to managing electrostatic discharge, read these top 10 tips for building a PC first.
1. Choose a suitable build area

When it’s time to build your PC, you’ll want to clear out a large area that’s easy to build on. Wooden dining tables are prime examples of what you could use in a home environment. They’re right around waist height, so you can lower your hardware into your case and plug in all the fiddly connectors without too much trouble.
And, as the table has a large surface, you won’t run out of room for a sprawl of opened boxes and loose cables. Ideally, you’ll have the computer case at one end of the table, hardware at the other, and your build area in-between. It’s too easy to lose that one screw if your build area is too cramped and messy. What’s more, wood acts as a great insulator of electricity, reducing the risk of you accidentally zapping your hardware.
2. Manage electrostatic discharge

If you can, try to avoid building on carpet. Brushing against carpet is going to build up static. Which, if you’re not careful, can discharge into your hardware and potentially do damage. But as long as you aren’t going out of your way to shuffle on carpet, electrostatic discharge isn’t as big of a deal as it’s made out to be.
Modern hardware is pretty well protected from ESD and withstands a fair amount before and real damage is dealt. Nonetheless, ESD is so easily avoided, so why run the risk?
There are some common PC building practices to keep yourself grounded. Plugging a switched-off power supply into an outlet will keep its metal enclosure grounded. So before handling any hardware, simply touch this PSU to discharge any built-up static into it and ground yourself – easy! You can take this a step further with an anti-static wrist strap. It’s a fool-proof way to avoid ESD. Wrap this strap around your wrist and attach its metal clip to ground, and it’ll keep you grounded.
If you’re a first-time PC builder, you’ll no doubt be a little nervous about handling and potentially damaging your new hardware. For peace of mind, we’d recommend picking up an ESD strap. Even experienced PC builders use ESD straps as it allows them to focus entirely on the build.
3. Keep a clear build area

Over the course of a PC build, you go through so much hardware. If you don’t keep on top of it all, your build area can turn into a dumping ground of cardboard boxes, manuals, pamphlets, and empty baggies. All this rubbish can get in your way, slowing you down and making the build more frustrating than it has to be.
You’d be surprised by how quickly you can build a PC when everything’s neatly laid out at arm’s length. So once you’ve unboxed something, set its packaging aside and keep the build area organised. We recommend building a PC one component at a time. There’s no need to have the power supply’s cables scattered all over your build area when you’re just installing the CPU, for instance.
4. Hold onto boxes

Notice how we said to set aside the packaging, not throw it away. Even if it’s a poor use of space, we recommend storing these boxes away, or at least ones for core components like the CPU, GPU, and motherboard. Hopefully you won’t run into any issues with your hardware, but if you do, it’s much safer to return it if you’ve got the original packaging to hand.
Whether it’s the motherboard’s CPU socket cover or foam padding in a GPU’s box, it’s all designed to keep the hardware protected. An important point to bear in mind is that some manufacturers won’t accept returns unless the hardware’s sufficiently packaged, and that’s when having the original packaging comes in handy.
Plus, when it comes time to upgrade your PC, it’s easier to resell your old hardware if it’s boxed up. So chuck all those loose cables, manuals, and boxes into the bottom of a closet, you’ll never know when you’ll need them.
5. Follow along with YouTube build guides
Don’t go into a PC build blind. Load up a smartphone, tablet, or laptop with PC building videos for guidance. These are invaluable resources to have at your disposal, especially if it’s your first time building a PC.
While having a component’s physical manual to hand is helpful, they’re often not detailed enough, relying on short snippets of text and generic graphics. On the other hand, you can look up and scrub through a video guide frame-by-frame if you ever get stuck. You’ll be able to see exactly where every component, cable, and screw goes.
Ebuyer’s own YouTube channel has plenty of build guides, so get subscribed. For component-specific info, like your motherboard’s multi-channel RAM configuration and where the case’s connectors go, you’ll want to refer to a good old manual.
6. Don’t worry so much about thermal paste

Apply a pea-sized amount of thermal paste on top of the CPU.
One of the more contentious debates among PC builders is how much thermal paste you should apply. We’ve covered why you need thermal paste in our blog PC Cooling – What You Need to Know.
In all honestly, you shouldn’t fret over thermal paste too much. People can be fussy about applying a “pea-sized” amount. No more, no less. This builds applying thermal paste up as some big task, when really there’s some leeway. Yes, aim for a pea-sized amount, but don’t worry if a bit more paste squishes out of the tube than you were expecting. Sometimes it’s dried up, sometimes it’s extremely viscous. Trying to shovel the paste back up can be more trouble than it’s worth.
Anyway, we’d recommend applying a bit more thermal paste than less. This ensures the CPU’s integrated heat spreader is completely covered for optimal heat transfer. Just don’t go dumping an entire tube’s worth of paste on top of the IHS. Under the mounting pressure of your CPU cooler it’ll just squeeze out onto the motherboard. Some thermal pastes can be electrically conductive, so you don’t want this.
7. Don’t force anything

RAM should ‘click’ into place.
Many people compare building a PC to Lego. Like these plastic bricks, many components snap into place, often accompanied by an audible ‘click’. While it may require a bit of force to ensure a component is seated correctly, you should never force anything. A component is designed to go in one way and one way only.
If you feel resistance, like something’s blocking the way, stop. Ramming a component in won’t get you anywhere. Lift it back out, check the component’s manual or a build guide, then try again. From scratching the gold contacts on a DIMM of RAM to snapping the pins off a CPU, components can be quite delicate and broken easily if you aren’t careful.
If you know where to look for them, there are also handy guidelines built onto the components themselves. For instance, on one corner of a CPU you’ll find a small triangle. This corresponds with another triangle on the motherboard’s CPU socket. Line these triangles up and you get the correct orientation needed to install the GPU. RAM DIMMs and M.2 drives are notched, so it’s pretty easy to tell which way’s the right one.
8. Don’t forget the I/O shield

You’ll find the I/O shield in the motherboard box – don’t forget it!
Sometimes even the most seasoned PC builders forget this step. Before screwing the motherboard into the case, make sure you’ve installed the I/O shield first. Mounted at the rear of your computer case, the I/O shield secures your motherboard’s I/O in place (USB, ethernet, and so on). So when you go to hook your peripherals up, the board won’t wobble and flex.
Also, you’ll want to help prevent dust from entering your system. Importantly, the I/O shield must go in before the motherboard. It’s nothing something that can slot in after the fact. You could be wrapping up your build, with every component screwed down and every cable managed, only to have to undo all your hard work when you notice the I/O shield is missing. It’s no doubt caused many frustrating moments. Some high-end boards, like the MSI B550 Unity-X, have the I/O shield attached to it directly. Otherwise, the I/O shield will be in your motherboard’s box.
9. Do a test boot

Building on top of the motherboard’s box.
If you take your time during a PC build, double-checking the manual every time you install a component, then the hours can add up quickly. When you’ve laboured over a PC build, there’s no worse feeling than pushing the power button only for it not to turn on. Plus, it’s a real pain diagnosing the issue as anything could’ve gone wrong along the way: did ESD zap something, is the CPU not seated correctly, was a component simply faulty from the factory?
Instead of waiting until everything’s screwed down to find out, we recommend doing a ‘test boot’ outside of your computer case to rule out a lot of potential issues early on.
What do you need for a test boot?
Place the motherboard on a non-conducive surface (the motherboard’s box is a good choice) and install just the CPU, CPU cooler, RAM, and a discrete video card if your CPU doesn’t have integrated graphics. Connect power cables as needed and hook this test system up to a display for video output. You don’t need to enter a storage drive just yet.
At this point, we’re not worried an operating system. We’re just seeing if the system boots up and reaches the BIOS. The only snag is that you won’t have your case’s power button to turn it on. Some high-end boards have switches on them for this exact scenario. Otherwise, you can bridge the motherboard’s front-panel pins with a screwdriver to jump-start it. First-time PC builders might not feel comfortable prodding at their expensive hardware with a screwdriver, but look up a YouTube video and you’ll see how easy it is.
Once the system reaches the BIOS and everything’s looking good, then you can proceed with the build knowing the core components are working as intended.
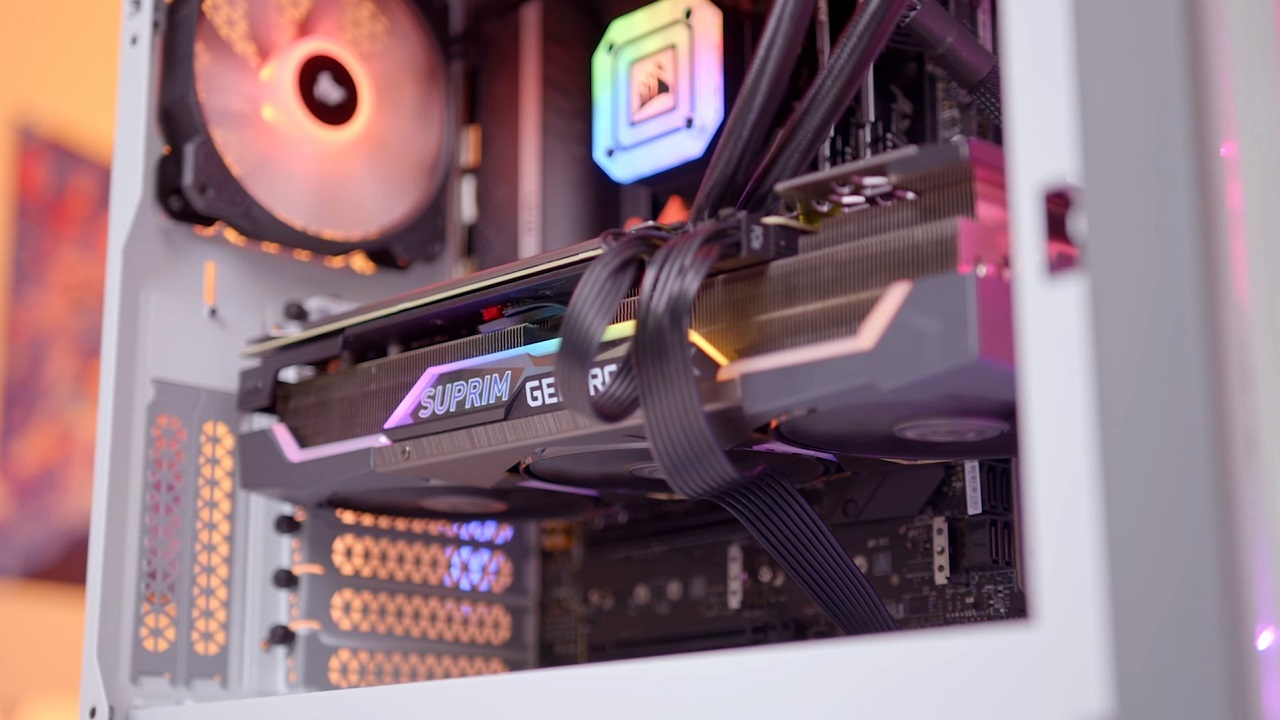
10. Manage your cables

An RGB controller can help manage all those RGB fans.
Congratulations are in order once your system has successfully booted for the first time, but you’re not done yet. As soon as everything’s plugged in and confirmed working, it’s too tempting to bunch up all the loose cables, slap on the case’s side panel, and call it a day. After all, you’ve still got an operating system to configure, drivers to install, and games to download before you can test out your new hardware.
As boring as it sounds, however, we recommend taking some extra time to properly manage your cables. If you don’t, you’ll be reminded of how ugly they look every time you peer through your case’s side panel. What’s more, unmanaged cables impede airflow and make future upgrades needlessly confusing. Organise your cables with zip ties and your future self will thank you for it.
Build a PC at Ebuyer
So, that’s our top 10 tips for building a PC. As mentioned, make sure to check out Ebuyer’s YouTube for build guides. Guest presenter James will have even more top PC building tips to share. Looking to build a PC but can’t settle on the specs? Our guide on How to build you own 1440p gaming PC is a great starting point.